How to Clean a Kitchen Like a Professional: The Complete Deep Clean Guide
Let's be honest — the kitchen is the hardest room in any Atlanta home to keep truly clean. It's where grease silently builds up on cabinet fronts for months, where the oven gets ignored until something starts smoking, and where even a "clean" kitchen can still harbor bacteria in the sink drain and behind the fridge.
Professional cleaners approach this room differently. They follow a specific order, use the right products for each surface, and never skip the spots most homeowners forget. This guide walks you through how to clean your kitchen like a professional — step by step, from top to bottom.
Why the Order You Clean In Actually Matters
Before you grab a sponge, understand this: the sequence you follow is just as important as the products you use. Working in the wrong order causes the most problems. Cleaning floors first, then having debris fall from upper cabinets defeats your entire effort. Always work top to bottom and inside to outside.
This is the foundation of professional kitchen cleaning. Start at the ceiling and work your way down. Clean the insides of things (ovens, fridges, cabinets) before their outsides. Save the floors for absolute last. Follow this rule and you'll never have to re-clean a surface.
A thorough deep clean will likely take two to three hours for an average kitchen — queue your favorite playlist and get started. For larger kitchens or those that haven't had a proper deep clean in months, plan for 4–6 hours.
What You Need Before You Start
Gather everything before touching a surface. Stopping mid-clean to search for supplies breaks your momentum and adds time.
Supplies you'll need:
- Heavy-duty degreaser (for stovetop, oven exterior, cabinet fronts)
- Baking soda (oven interior, sink, fridge deodorizing)
- White vinegar (microwave, garbage disposal, disinfecting)
- Microfiber cloths (several — one per area)
- Scrub brush and old toothbrush (grout, corners, tight gaps)
- Dish soap and a large basin for soaking
- Rubber gloves
- A plastic scraper (for baked-on oven residue)
Food safety comes first — toss expired items as you go, store perishables in a cooler if cleaning the refrigerator, and keep cleaning products separate from food prep areas. Always read labels before mixing different cleaners.
The Professional Kitchen Deep Clean — Step by Step
Step 1 — Clear and Declutter
Get everything that doesn't belong in the kitchen out — clear countertops completely, move chairs, remove cookbooks and knick-knacks, and empty the trash. You cannot clean around clutter — you clean through it. A clear kitchen is a fast kitchen.
Step 2 — Start Soaking the Heavy Parts
Fill your sink with hot soapy water and drop in the items that need soaking time: oven racks, stove grates and drip pans, microwave turntable, and refrigerator crisper drawers. Let them soak while you clean everything else — this is a pro-level time hack that makes scrubbing these parts nearly effortless later.
Step 3 — Clean the Oven First
The oven needs the most dwell time, so start it early. Remove the racks (they're in your soaking bin already). If your oven has a self-cleaning cycle, run it according to manufacturer instructions. Otherwise, make a paste with baking soda and water, coat the interior, and let it sit for the recommended time. Then scrub with a plastic scraper or scrub brush.
Pay extra attention to the oven door glass, especially the area between double-pane windows where grease accumulates. While the baking soda paste works on the oven interior, move on to other areas and come back to scrub it later.
Step 4 — Degrease the Stovetop and Range Hood
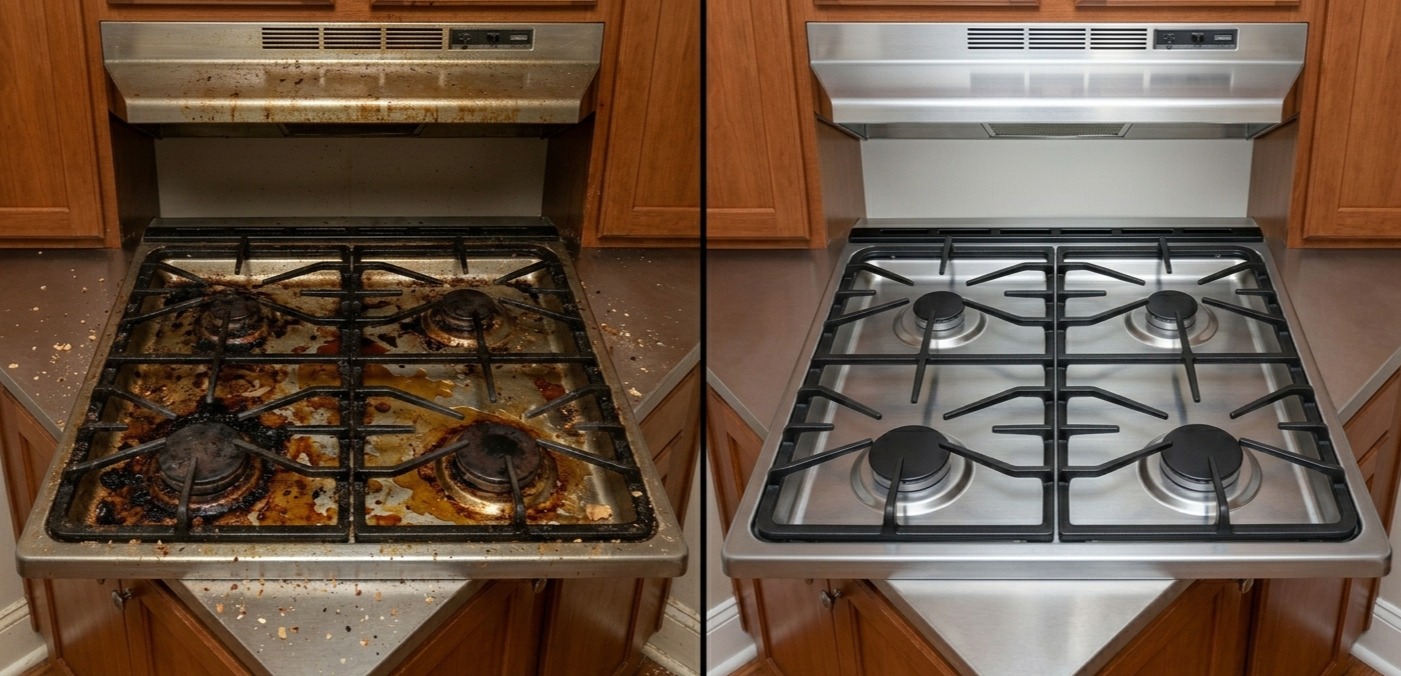
Grease buildup on the stovetop is a fire hazard, not just an eyesore. Apply a degreaser to the stovetop and inside the oven. Let it sit for as long as the product recommends, giving the grease time to break down before scrubbing.
The range hood filter is one of the most neglected spots in any home kitchen. The range hood filter traps grease and should be cleaned monthly during heavy cooking seasons. Most filters are dishwasher-safe, or you can soak them in hot water with degreasing dish soap.
Step 5 — Wipe Down Cabinet Fronts
Grease and cooking vapors leave a sticky film on cabinet fronts, especially near the stove. Mix warm water with a few drops of dish soap or use a specialized kitchen degreaser for heavy buildup. Work from top to bottom, paying extra attention to areas around handles. Don't forget the tops of cabinets, which collect dust and grease over time.
Use an old toothbrush to get into hinge gaps and decorative grooves. These spots are where grime hides longest.
Step 6 — Deep Clean the Refrigerator
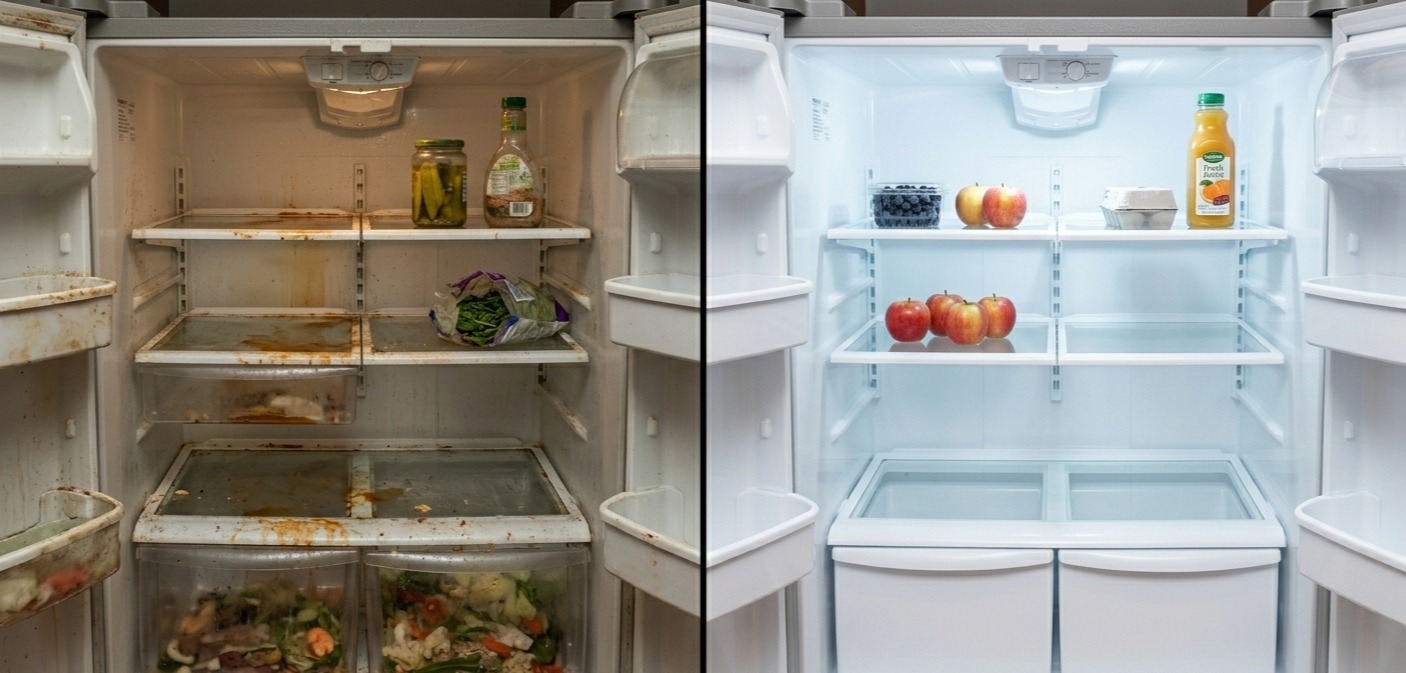
Remove everything. Check expiration dates as you go — this step alone eliminates hidden bacteria sources. Take out removable shelves and drawers and wash them in the sink with warm, soapy water. Wipe interior surfaces with a solution of 2 tablespoons baking soda in 1 quart of warm water. Baking soda neutralizes odors while cleaning, which is why it's the professional's go-to over scented sprays.
Don't forget the rubber door seals — they trap crumbs and mold and are almost always skipped during a regular wipe-down.
Step 7 — Microwave, Countertops, and Sink
- Microwave: Fill a microwave-safe bowl with water and a few tablespoons of white vinegar. Microwave on high for 3–5 minutes. The steam loosens everything inside. Wipe clean effortlessly.
- Countertops: Match your cleaner to your surface material. For non-porous surfaces like granite or quartz, a mild dish soap and warm water mixture works well. Avoid acidic cleaners that can damage the sealant. For porous materials like marble, use a pH-neutral cleaner to prevent etching.
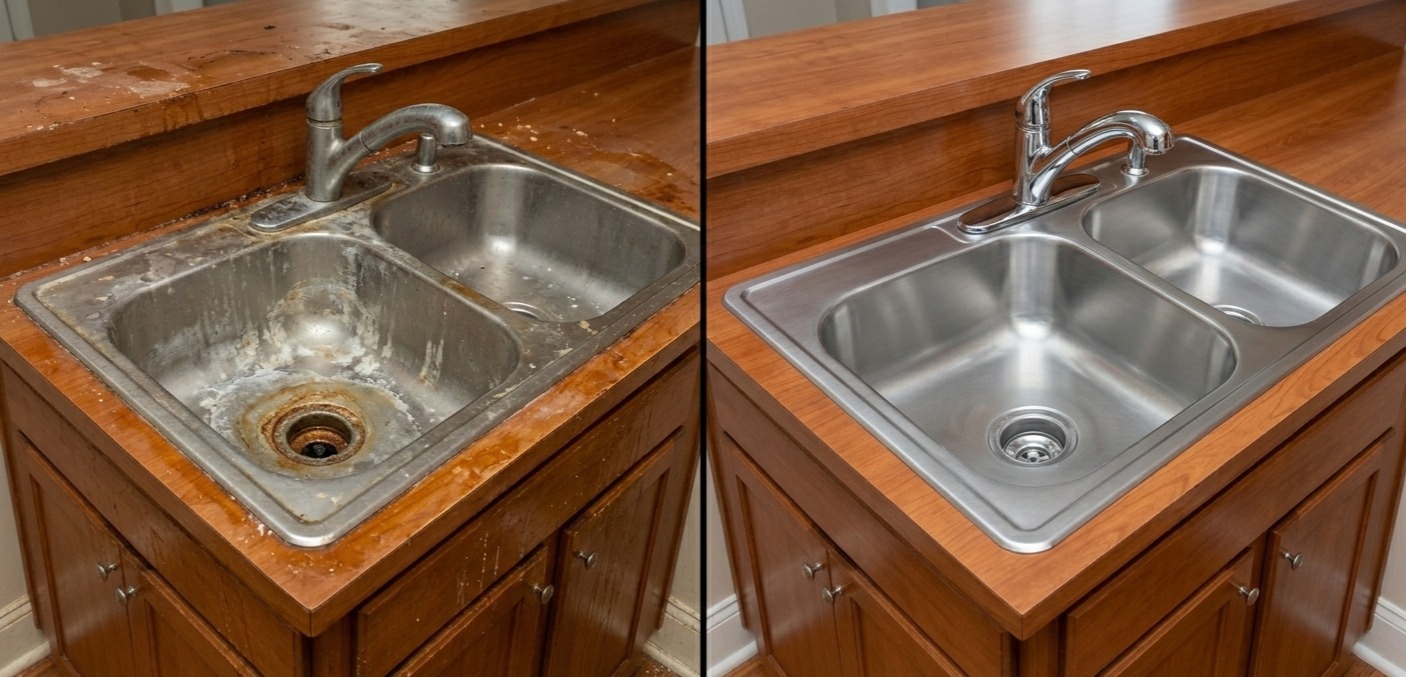
- Sink: Sprinkle baking soda all over the sink basin, let it sit for a few minutes, scrub it, and then rinse with warm water. Pay special attention to seams and cracks — that's where grime hides.
- Garbage disposal: Freeze white vinegar with citrus peels into ice cubes. Run one down the disposal — the ice sharpens the blades while the vinegar and citrus kill odors and bacteria. It works better than any commercial product.
Step 8 — Scrub the Soaked Parts and Finish the Floors
By now your oven racks, stove grates, and fridge drawers have been soaking for an hour or more. Scrubbing them will take minutes instead of exhausting effort.
Sweep the floor for debris, then mop with a suitable floor cleaner. If you have tile floors, scrub with a brush and a baking soda solution to thoroughly clean the grout. Floors are always last — any dust or debris dislodged during cleaning above settles to the floor, so cleaning it last keeps it clean.
How Often Should You Deep Clean Your Kitchen?
Most homes benefit from a thorough deep clean every one to three months, depending on how often you cook and host, or if you have children or pets. Here's a practical schedule for Atlanta households:
- Weekly: Wipe counters, stovetop, and sink. Spot-clean the microwave. Empty and wipe the trash bin.
- Monthly: Clean the range hood filter, wipe cabinet fronts, sanitize the refrigerator interior, and scrub the garbage disposal.
- Every 3–6 months: Full deep clean — oven interior, behind appliances, inside cabinets, grout scrubbing, and the full checklist above.
The Spots Most Atlanta Homeowners Always Miss
Atlanta homes — especially in Midtown, Decatur, and Sandy Springs — deal with higher humidity and pollen levels than many cities. That accelerates mold in kitchen corners and grease adhesion on surfaces. Here are the spots that almost everyone skips:
- The top of the refrigerator — collects a thick layer of greasy dust
- Behind the stove and refrigerator — grease, crumbs, and sometimes mold
- Inside the garbage disposal — source of most kitchen odors
- Under the kitchen sink — moisture, mold, and forgotten expired products
- Cabinet door hinges and drawer tracks — built-up grime invisible until you look closely
- The ceiling above the stove — cooking vapors rise and coat it with a thin grease film over time
When to Call a Professional Kitchen Cleaning Service
The honest truth? A full professional kitchen deep clean is a 3–6 hour job with the right tools and experience. If your kitchen hasn't had a serious clean in months, or you're moving in or out, or you're running an Airbnb property in Atlanta — doing this yourself takes a full day out of your life.
A Professional kitchen cleaning service handles everything in this guide in a fraction of the time, using commercial-grade degreasers and equipment that outperform what's available in grocery stores. It's not about whether you can do it yourself — it's about whether your time is better spent elsewhere.